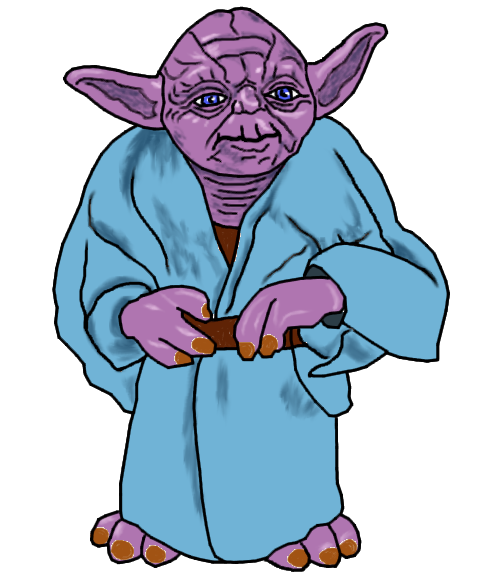
You can continue with the object you created in Lab 7 A, or download the file zodaMore.blend. Open it in Blender. In this second part, we will add a skeleton to this creature and animate it in the next part.
Switch to the Front Ortho view from the View menu, then in the menu to the far right of Object Mode, change the display mode to Wireframe. Click on the target tool in the left vertical bar, then click somewhere in the middle of the body to set the anchor point there (it looks like a target). Then from the Add menu, select Armature. This should add a bone.
Switch to the Left view and click on the Move tool on the left. Pull the bone along the green axis (Y) towards the center of the object.
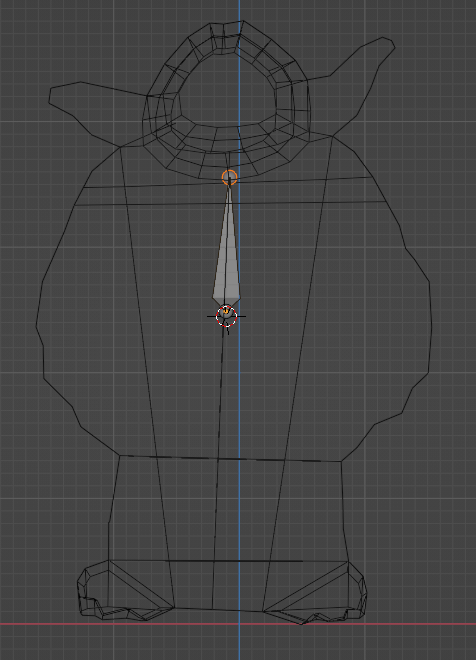
Switch back to the Front view. With the bone selected, switch from Object Mode to Edit Mode. Pull the top sphere of the bone (the joint) down until it resides on the neck of the creature, like below.
With the top joint still selected, hit E to extrude it, then place the upper joint of the new bone in the center of the head. Extrude this new bone and place the end joint on the tip of the right ear. Then click on the joint at the center of the head and extrude it towards the tip of the left ear.
Click on the joint in the middle of the body. Extrude it towards the bottom of the right foot. Then click on it again and extrude it towards the bottom of the left foot.
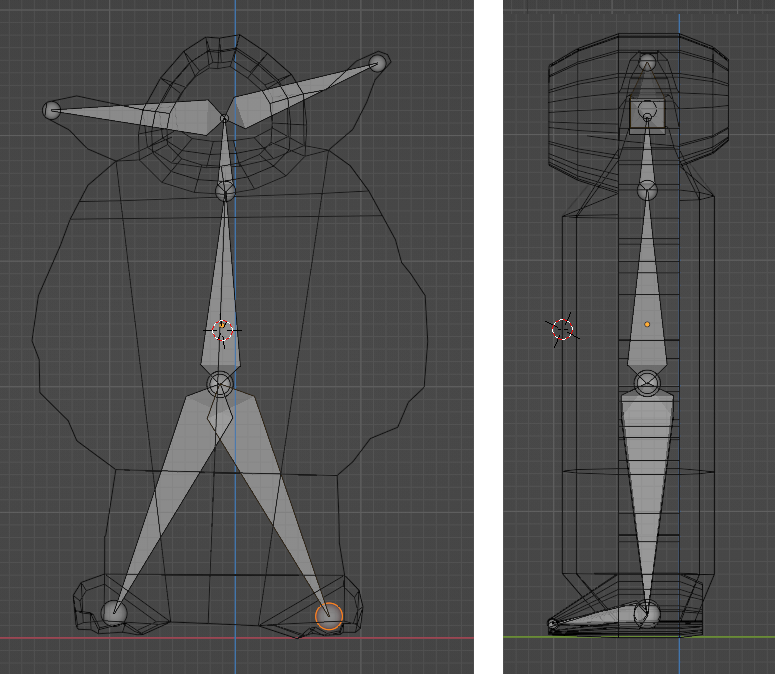
With the joint at the bottom of the left foot selected, switch to the Left view and extrude it horizontally towards the tip of the left foot. Then switch back to the Front view and align the new joint with the middle of the foot if necessary. Redo the procedure for the right foot. At this point you can switch back to Object Mode. See below an example of the result from the front and left, with the mesh itself in Wireframe mode.
Switch back to Edit mode and click on the first bone to select it (not the joint). In the right-hand side panel, click on the Bone button. Below this panel, you'll see the name Bone. Rename it as "body". Rename the other bones as head, ear_L, ear_R, leg_L, leg_R, foot_L, foot_R. It's important for Blender that symmetric bones have the same name with the _L and _R added to them.
After naming the bones, we need to check their dependencies. In Edit mode, click to select the head bone. In the toolbar under the Hierarchy on the right, click on the Bone button. In the Relations area towards the bottom of the right-side panel, make sure that the body bone is its parent. Then check that the parent of both ear bones is the head bone.
Then click on the left leg bone. Because it started from the bottom of the body bone and not from the top, it doesn't have a parent. Click on the parent box and select the body bone from the list. Do not check the Connected box (or you can try to see what happens). Do the same for the right leg. The foot bones should already have the leg bones as parents.
For the skeleton to work, we need to pair it first with the mesh of the creature itself. Switch back to Object mode, and set the display mode back to solid. In the top right corner of the window, you'll see a list/hierarchy of objects in the scene. You can select the Circle object (the creature) from there. Below that there is an area where you can edit its name. Rename it creature or Zoda.
With the creature selected, Shift-click on the Armature, then hit Ctrl-P to pair them. A menu will open. Choose "With Empty Groups" from it. In the hierarchy, now the mesh will show as part of the armature (its child).
The weight paint determines which part of the mesh is influenced by each bone. Deselect everything, then selct the mesh. Switch from Object mode to Weight Paint mode. Then in the right-side vertical toolbar next to the inspector, click on the Object Data Properties button (it looks like a triangle) and then in Vertex Groups in the inspector, click on the head bone. Paint the entire head of the creature in red. You will have to switch from Front to Back and maybe Top to be sure the entire head is covered. You can try selecting faces or vertices to see which works better.
Then in the Vertex Groups, click on one ear and paint just that ear, and then the same for the other one. You can see the result so far.
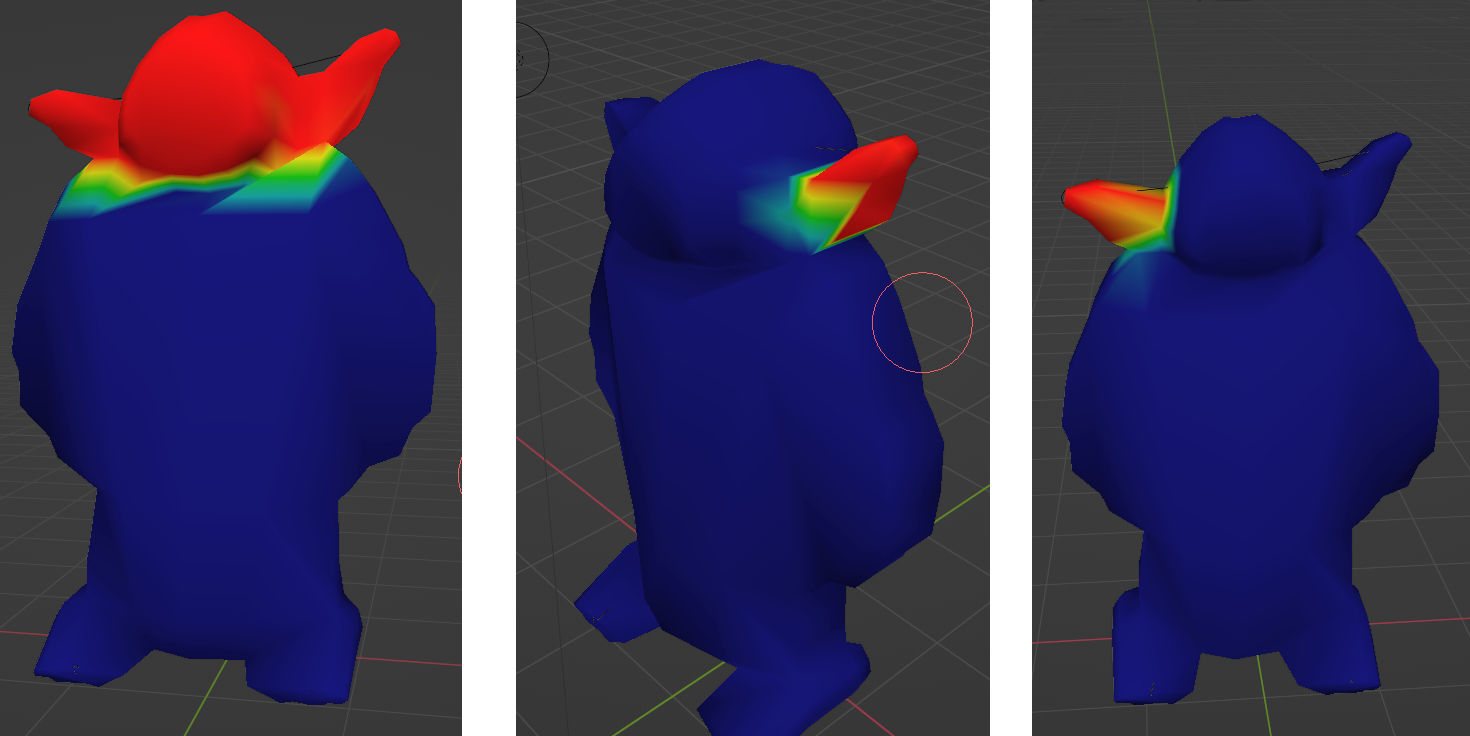
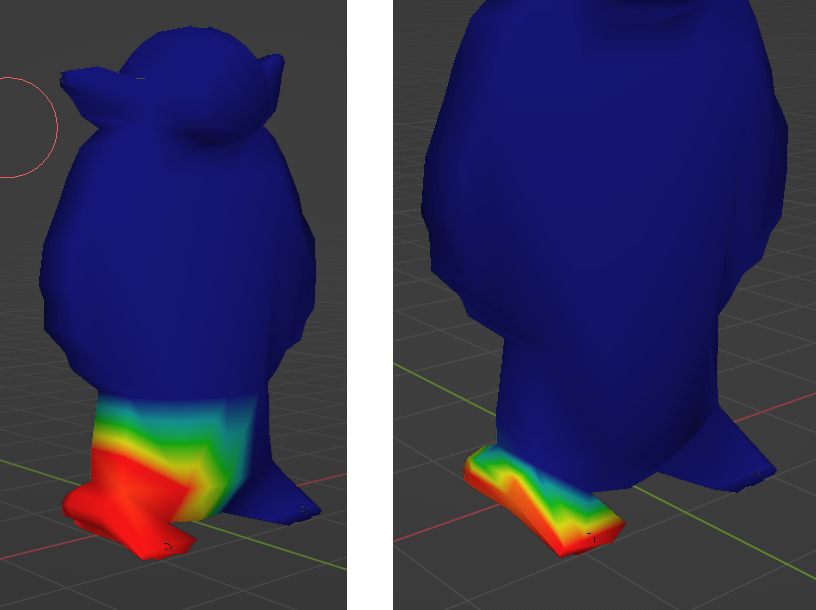
The select each leg bone and paint the whole foot plus a bit of the robe above it. Then select the foot bones and paint only points in the foot itself. You can see an example of the result below.
Finally, select the body bone and paint the entire body of the creature in red. This will serve to move the entire body as a whole.
This will be continued in Part C.