Ex. 1.
In this lab we are going to explore some digital image manipulation operations.
You can go to www.flickr.com, then to Explore. Scroll down for more photos and choose a color photo. It's better to use a photo that doesn't look as it's been filtered already.
Next to the image or just below it, there should be a link to download the photo. Clicking on it, you should get available sizes. that lets you select the size.
You can also simply do a google image search with a nature or city (or similar) theme and "no filter".
If you can't download the image for some reason, keep the browser open with the image displayed in it completely and open the Gimp. From the File menu choose Create, then Snapshot. A dialog should open where you can choose to take a snapshot of a single window. Click on Snap and then in the browser window. Once an image of the browser opens in the Gimp, use the Crop Tool (it looks like a knife) to crop the image to discard everything but the photo from the image.
Note.
Do not upload this image or the result of any modification you make to it on any web site, unless you start with a photo of your own.
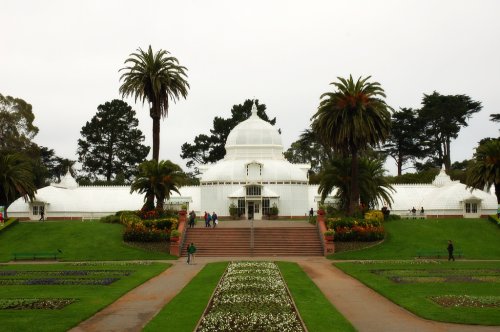
For an example, I will start with this image (www.flickr.com/photos/novia913/4324838509).
Blur - Overlay
You can adjust the colors in the original image if necessary using the brightness-contrast or the curves.
We're going to apply a blur filter to this new layer with an adjustable parameter for the depth of the operation.
We are going to use the blurred layer as a modifier to the original image.
If the effect is too strong, you can reduce the opacity of the blurred layer.
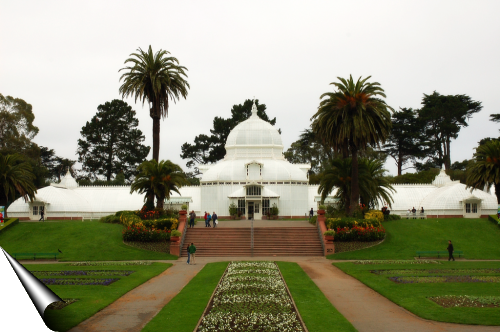
Here (golden_state_blur.jpg) is the result of the operation on the image I chose.
Posterize and Page Curl
This should merge the layers and remove any transparency.
The ore colors you use, the less the image will look like a poster. You can choose a value that makes a difference without making the image unrecognizable.
The selection will be used for a special effect on the corner of the image, so make sure that the corner is inside it. Zooming out of the image can help making sure of that.
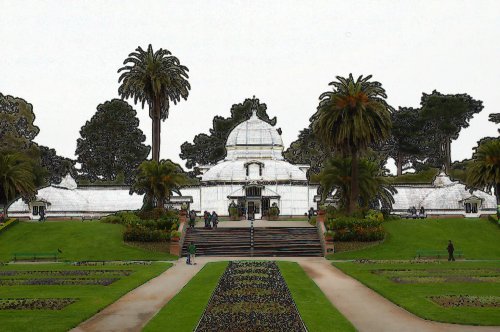
Here (golden_state_curl.png) is the result of the operation on the image I chose.
Soft Glow and Edge Detect
We will apply other special effects to this image that will make it look like it's taken from a comic book.
The main outlines of the borders should be dark.
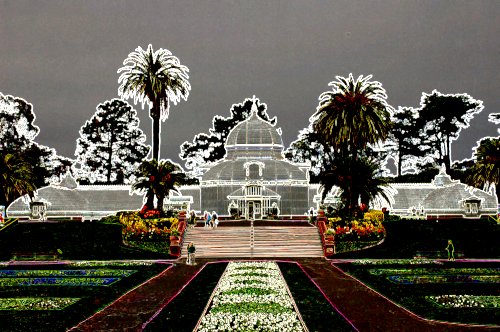
You can explore the effects of the various superposition modes in the Layers dialog. For example, this image (golden_state_grain_extract.jpg) was created with a grain extract mode.
This should create dark outlines around the main shapes in the image.
This should add some highlights to the image.
Here (golden_state_sketch.jpg) is the result of the operation on the image I chose.
Grain Extract
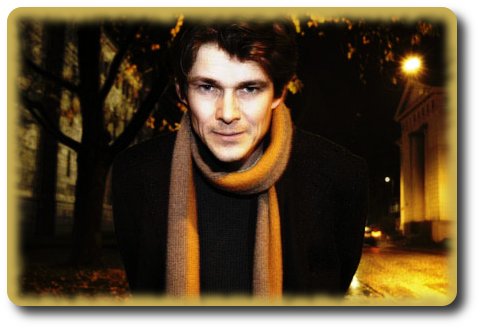
Next, we're going to use some filters that can be used to create airbrush effects on portraits for magazines and such.
This part works best with a portrait. For example, I will start with this photo (www.flickr.com/photos/merete-haseth/4325185243).
You can also experiment with the different merging modes for this layer to see what the effect is.
If the effect is too strong, you can decrease the opacity of the layer. This should have the effect of removing or smoothing some of the fine details in the original image.
Next, we're going to add some decorations to the image.
This should create a new image.
This operation will create a third image.
Here (yellow.jpg) is the result of the operation on the image I chose.
Note.
You will have to upload the 3 jpeg images and the one png image resulting from this lab as part of the homework (see the Homework 5 or I310_Hw5.pdf) for more instructions).