In this lab we will start working on a board game using a rolling die, similar to Chutes and Ladders. Here is an an example (http://www.cs.iusb.edu/~danav/teach/b583/monsterGL/) of the intended result.
Ex. 1. Unity Project. Create a new 3D project in Unity called MonsterRun. Leave it empty for now.
Download the following resources and add them to the Assets folder
of the project (organized in sub-folders):
monsterRun.unity
path.blend
die.blend
shroom.blend
GameMaster.cs
start.png
finish.png
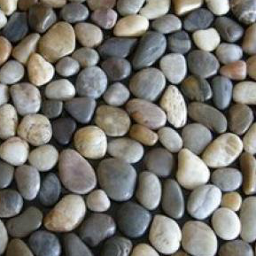
pebbles.png
pumpkin.png
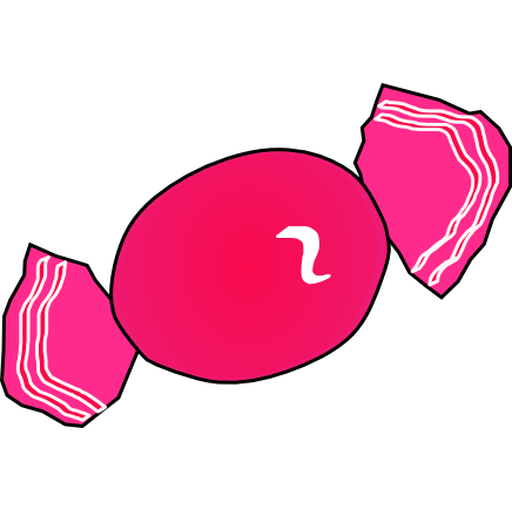
candy.png
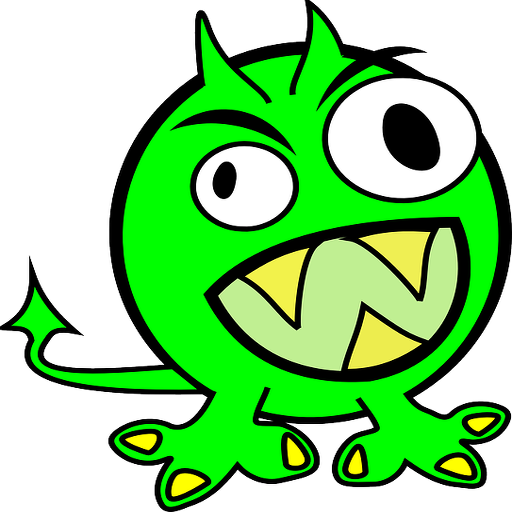
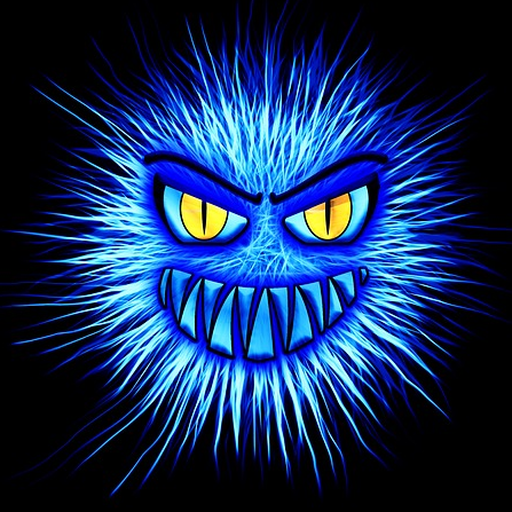
monster1.png
monster2.png
monster3.png
Back in Unity, open the scene monsterRun.unity. Create a material for the ground and apply it to the box object. Create another material for the walls, semi-transparent, and apply it to the 4 walls under the box. The scene also provides a position for the camera so that we can see the whole box. The display is constrained to 16:9.
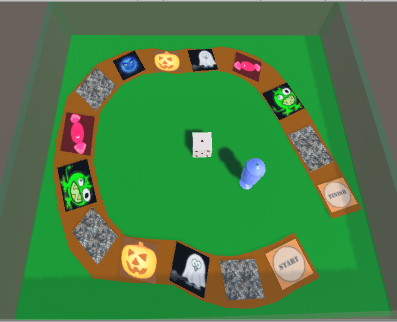
The scene already has 25 tiles to be used in the game. The path object is supposed to be under them, but it doesn't transfer well through the scene alone. Add the path object to the scene and then scale it and rotate it so that the tiles fit on it. You can adjust the tiles' positions afterwards if needed. Set the color of the path as you like. Once the path object is properly defined, make the tile objects children of the path.
Add the shroom object to the scene. Disable its camera and light source. Create a material for it in the color you prefer and apply it to the object. Scale it if necessary. Make sure that it stands on the plane. Give it the name player and apply the tag Player to it. Place it over the object tile0.
Add the GameMaster script to the GM object. Connect the buttons, the text under the buttons, the info text, the score text, the player, and the camera to the attributes of this script. Set the size of the Tile array to 25, but do not attach the tiles themselves to the references.
Apply the image start.png to the first tile and finish.png to the last one. Set a number of the other tiles with images of the pumpkin/candy/monsters as you want, and the others as pebbles. Here is an example of a possible result:
Add the die object to the scene and place it in the center. Disable its camera and light source. Move it up so that it's visible in its entirety. Scale it down if needed. Then connect it to the Game Master's Die Object reference.
In the GM's Game Master component, set the size of the Mats array to 6. Find where the materials for the images you applied to the tiles were created. For me, it's in Materials - Materials. It should be in a folder Materials inside the folder where you added the images. Drag the 6 materials to the Mats array in the order: pebbles, pumpkin, candy, monster1, monster2, monster3. The script uses this array to identify the type of each tile you created.
Run the program. While running, you should be able to see the Tiles and Tile Type arrays populated correctly by the script. The start and finish tiles should appear as Stone, which is correct.
The position of the buttons and text objects is dynamically set in the code based on the screen size. Set the action OnClick of the first button as attached to the GM object, in GameMaster, the function Action1. After this, you should be able to click to roll the die. The result will be shown in the infoText object and on the die object itself. You can adjust the colors of the buttons and of the text objects to suit your color scheme.
This will be continued in Homework 10.