In this lab we will start working on a 3D maze search game. Here is an example (http://www.cs.iusb.edu/~danav/teach/b583/zodaGL/index.html) of the intended result.
Open the Unity project created for Homework 8 (including the animated Zoda) and save the scene you created as a new scene called maze (a copy of the one from last week).
Download the following resources and drag them to Unity
into the Assets:
wbrick.png
door.obj
key.obj
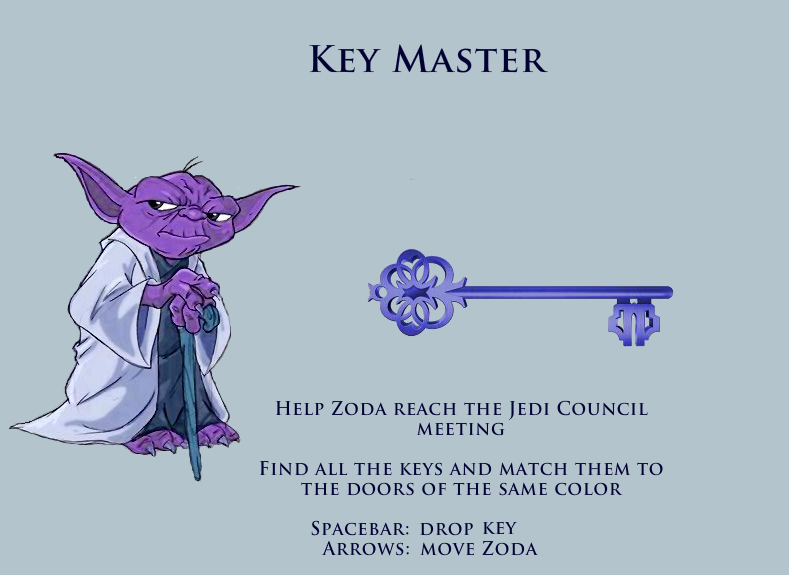
keySplash.png
keyWon.png
CameraControl.cs
GameMaster.cs
PlayAction.cs
You should still have a plane object in the scene. From the Assets menu create a new material. Call it gray. In Inspector, click on the color picker next to the Albedo property of the object. Set it as a medium dark gray. Then drag the material onto the plane object to apply it to the plane.
Wall object. Create a cube 3D object. Move it up so that it sits on the plane (drag it on its vertical axis) and resize it to be a little less taller than it is wide (I used about 0.4 scale for x and z and about 0.25 for y). You may want to scale it down a bit so that more of them can fit on the plane (or scale the plane up). Make sure the horizontal shape is still a square (scale x and z together, or set them manually with the same value afterwards). Make sure that this object has a Box Collider, and add one if it doesn't. Rename this object brick.
Wall material. Create a new material (from the Assets menu) and call it wall. In Inspector, click on the little circle to the right of the Albedo property and select the wbrick sprite to apply to it. The sphere in the bottom right corner should look like a white marble now. Drag the material to the scene and drop it onto the cube object.
Door object. Drag the door.obj object from Windows into the Assets folder in Unity. Then drag the object to the scene to create an instance. Resize it so that it's no larger than the cube horizontally. Apply a simple blue material to it (created the same way as you created the plane material). Add a Box Collider to it and resize it so that it covers the object snugly.
Key. Repeat the procedure with the key.obj file. Pull down all the objects to the level of the plane. Then convert the brick, the door, and the key into prefabs. When (if) it asks if you want to keep the original or create a variant of the original, choose to create a variant.
Player. Color the player (zoda) object in any color you want, except for the exact shade used for the door and key. Or if you managed to make the vertex shader work, keep that color. Set the tag of this object as Player. Make sure that it still has a Rigidbody component from homework 8. Set the Drag to 0 in the rigidbody and freeze the rotation over x and z in the constraints. Scale the object so that it is no larger than the brick in the plane. For example, with a brick in the dimensions specified above, I had to scale the player by 0.082 uniformly. Set the position of the player in its transform as (0, 0, 0). Test the movement, and if the create doesn't move, or if it rotates while moving, lift it up from the plane by a small amount.
Camera. Move the camera so that it is a little behind and above the player. Rotate it so that it looks at the player. Then add the CameraControl script (taken from the Roll A Ball demo from the Unity website) to the camera and connect the player object with the player attribute of this component of the camera in the inspector. For example, I have the camera at position (0.01, 0.508, -0.711) and with a rotation of (13.602, 0, 0).
Now you can delete the brick, key, and door objects from the scene.
Game Master. Create an an empty object called GM. Tag is as the GameController. Add the script GameMaster as a component to it, then drag the brick prefab onto its Brick Ref attribute.
Compile the project and run it. You should have a maze and a creature you control that can move through the maze. The camera should follow the player around. If necessary, adjust the scaling of the player so that it can move through the maze easily and adjust its speed for comfortable play.
Let's create an introduction or "splash" page for the game.
Create a new scene and call it start. In this scene, switch the camera first to Orthographic. Add a 3D Quad object and make sure it faces the camera. It would be useful to constraing the game layout to something specific and to use the same setting when you create the build. On the camera, switch from sky box to solid color and choose a color for the background that works with the splash image.
Drag the keySplash onto the quad, then resize the quad to cover the entire viewport (use the Game tab as reference). Then make the quad a child of the camera so that it scales with it.
Button. Create a new UI object of type Button and call it PlayButton. The button will be added under a Canvas object. If you click on the little arrow next to the name, you should see a Text object as its child. In this object, set the text attribute as Play. Then click on the PlayButton object again and use the coordinates in the Rect Transformation to position the button where you want on screen and to set its size the way you want. Scrolling down in the Inspector, you can also set the color or the button to your liking (including the highlighted, clicked, etc. states).
To add functionality to the button, we need an object in the scene that we can apply the PlayAction script to. Create an empty object and call it action. Add the script PlayAction as a component to it. Then select the PlayButton object again.
At the bottom of the Inspector for the button, you'll see a section labeled On Click(). Click on the + to add an action to it. Leave the left-side selection as Runtime Only. Then below that, click on the little circle next to None and select the action object from the Scene tab, or drag it from the Hierarchy onto this field. Finally, from the drop-down menu to the right of Runtime Only, select PlayAction and then ClickAction.
Before you can test this, you have to add both scenes to the Build Settings. Make sure that the name of the scene is spelled correctly in the script PlayAction. Now when running the app starting from this scene, clicking on the Play button should load the scene maze.
This will be continued in the homework.