In this lab we will start writing a 2D scroller game, which you will complete in the homework. Here is an example (http://www.cs.iusb.edu/~danav/teach/b583/moon_shot.swf) of the intended result.
You are in control of a rocket that you can move in four directions. You float in space encountering parachutes and helicopters. Catching a parachute gives you 7 points while catching a helicopter removes 5. You start out with 50 points. The goal is to achieve a score of 0.
Create a new Unity 2D project called
Scroller. Download the following images to a local folder:
sky.png
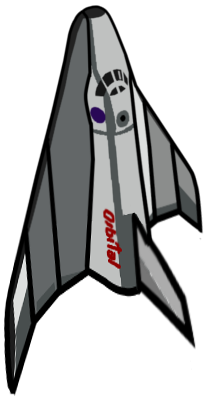
orbital.png
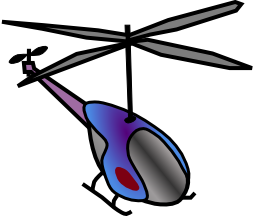
bladeRunner.png
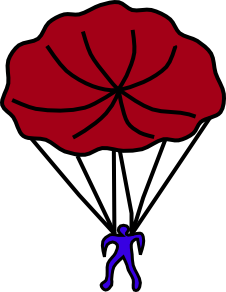
parachute.png
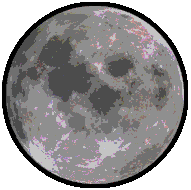
moon200.png
drop.mp3
helice.mp3
In Unity, create four folders in the Assets: Art, Prefabs, Scripts, and Scenes if you don't have it. From the File Explorer, drag the downloaded images into the folder called Art in Unity. Save the scene as breakout in the Scenes folder you created.
Download the following scripts:
PlayerControl.cs
ScrollControl.cs
CritterControl.cs
Then drag them from Windows into Unity and place them in the Scripts
folder. Open them in your script editor (MonoDevelop or Visual Studio)
and compile them.
We'll start by creating a scrolling background for our game using the (circular) sky image.
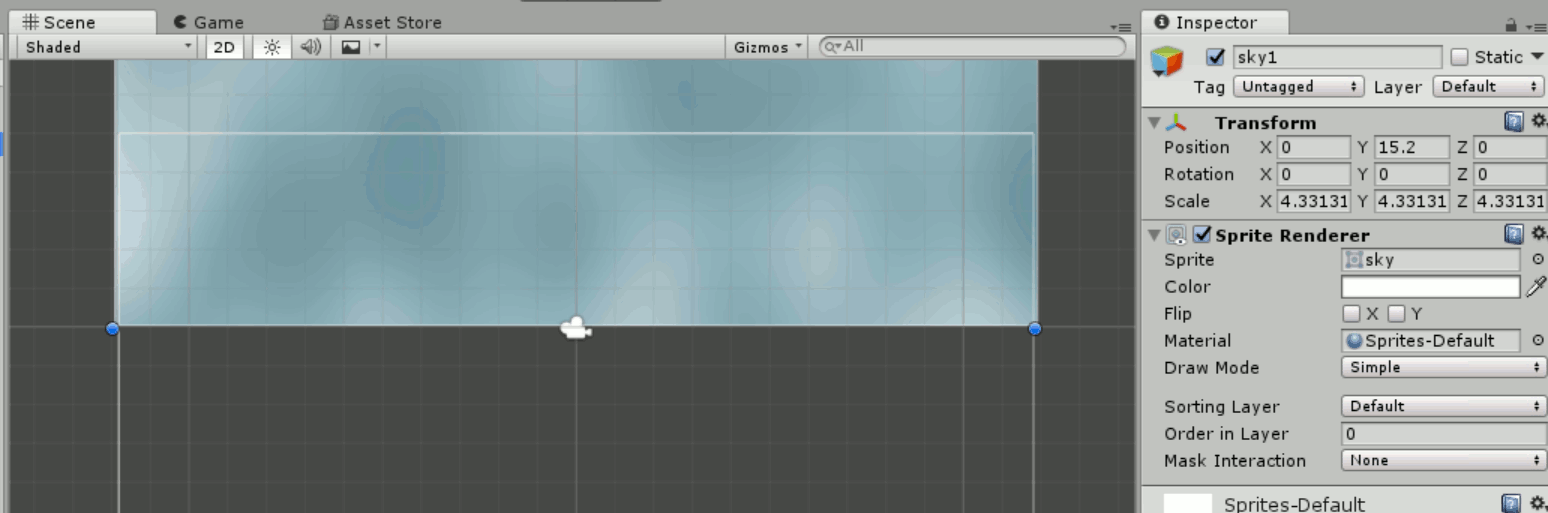
Drag the sky sprite to the screen. Scale it so that its width is slightly larger than the camera width. Then move it to a position such that x=0 (set this manually in the Inspector) and the bottom of the image is aligned with the center of the camera. You may have to zoom in for it. Call this object sky1:
After you scale the image to the right size, set the z coordinate of its position to 0.1.
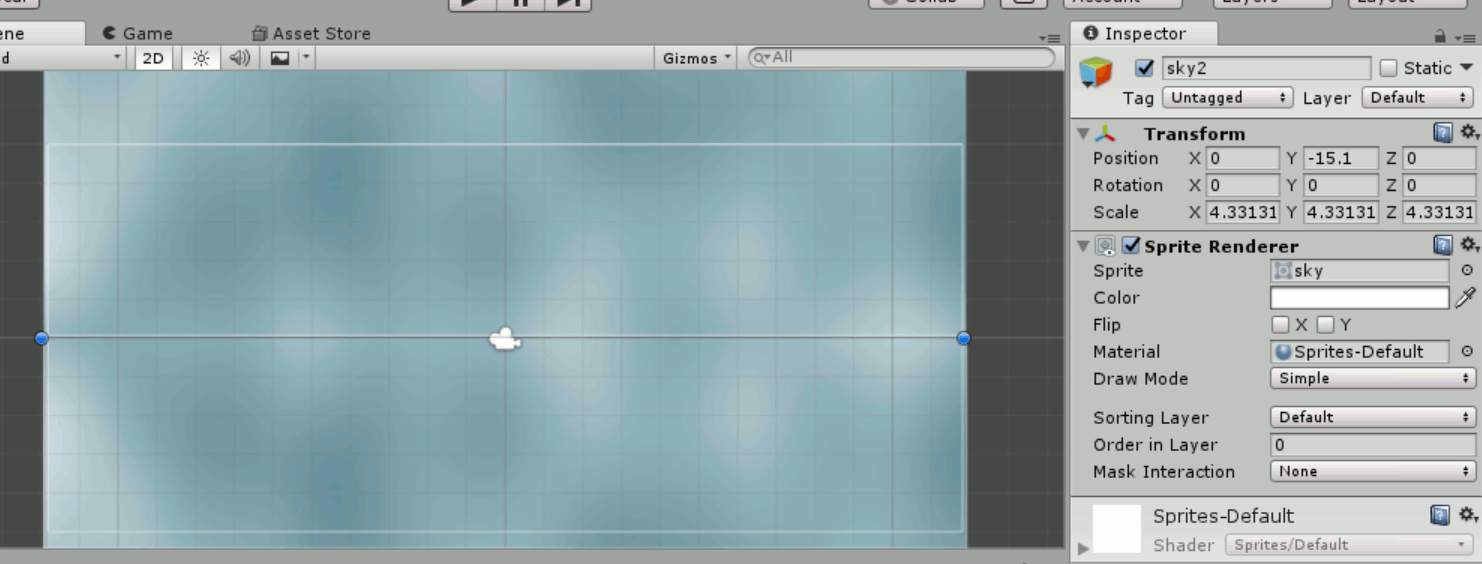
Duplicate the sprite. Call it sky2 and move it so that the top of this second sprite is aligned with the center of the camera. The two images should look like they form a contiguous image of double height. To make sure we don't have a gap between them, click on the top sprite and check its y position in the inspector. Then click on the second one and set the y position to the negative of the first one +0.1. For example, if the first one had y=7.7, set the y of the second one to -7.6:
Create a new empty object and call it sky. In the hierarchy, add the two sprites as children of this one. Add a Rigidbody 2D component to this empty object from Physics 2D and set the Angular Drag to 0 and the Gravity Scale to 0.
Add another component to it with the script ScrollControl. Set the Top and Bottom attributes of the component (in Inspector) with the objects sky1 and sky2. Now you should be able to test the functionality of the background.
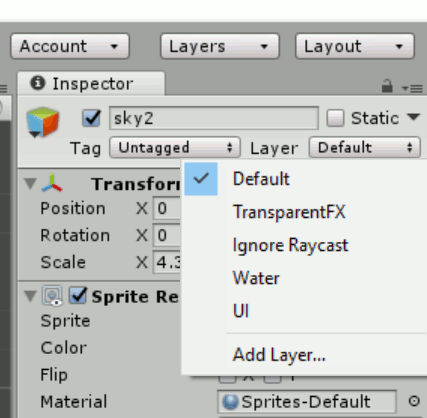
Background Layer. Let's move the sky to a layer where it won't interfere with the rest of the game. In Inspector, from the drop-down menu next to Layer, click on Add Layer. Add a new layer called background under User Layer 8. Then click on the sky object and set its Layer to background. If it asks you if you want to change the children's layer too, click Yes to change the children:
Drag the orbital sprite from the Art folder in Assets to the scene and call it rocket. Scale it down to a playable size. Add a component to it with the script PlayerControl and set the Move Up / Down / Left / Right keys with either the 4 arrows or with the WASD keys based on your preference. Set the Speed X and Speed Y to 5, then connect the Main Camera with the object's Main Cam attribute.
Add a Rigidbody2D component to this player. Set the angular drag to 0, check the Freeze Rotation over Z flag under Constraints, and set the Gravity Scale to 0. Test the functionality of the object and adjust the speed if necessary. Try the linear and non-linear speed to see which one works better. For non-linear movement, play with the mass of the object in the Rigidbody 2D component to see what difference it makes. Make sure to click on the Game frame to make it active if the keys don't seem to work, especially after clicking somewhere else on the screen. Keep the settings for speed and mass that you like.
The movement of the player should now be restricted vertically to the screen space, but not horizontally. This is left for the homework.
Add a PolygonCollider2D component to the rocket. Zoom in on this object and hit Edit Collider in the Inspector. Make sure all the edges of the object are properly covered by the collider.
Set the tag of the rocket as Player.
Add a parachute sprite to the scene and resize it to a reasonable size. Add a Rigidbody2D component to it. Set the Gravity Scale to 0.1 (or some other value that works for you). Add a polygon collider to it. Edit the collider and make sure the borders are well covered.
Add the script CritterControl as a component to it. Set the attribute Friend to true, the Score Value to 7, and Respawn to true (it should be already).
Add another component to the object, from Audio - Audio Source. Drag the audio clip called "drop" to the Audio Clip component of it. Then convert the object to a prefab by dragging it to the Prefabs folder.
Repeat the operations for the helicopter. In the CritterControl area, set the Friend attribute to false (default) and the Score Value to 5. The rest of it should be the same. Set the audio clip to be the helice clip. Turn this one into a prefab too.
Now when you run the program, the two critters should appear from the top after a little while from random places and the player should be able to push them around. The two sounds should be played right at the start.
If either of the critters or the rocket doesn't show when you run the app, set its Z coordinate to -0.1.
This will be continued in the homework.